How To Wear & Remove Invisible Braces | Complete Instructions
How To Wear & Remove Invisible Braces | Complete Instructions
Starting your clear aligner journey (also called invisible braces)? Knowing how to wear clear aligners correctly and remove them safely is essential for achieving the best results. Whether you’re just getting started or need a refresher, this guide covers all the key aligner instructions, including:
Table of Contents
How to Wear Your Clear Aligners Correctly
Step 1: Identify the Correct Set of Clear Aligners When you receive your package in the mail, there would be multiple sets of aligners in the box alongside an instruction manual. Each step of your aligners is individually packed and labelled clearly for your convenience. You will need to wear your aligners sequentially.
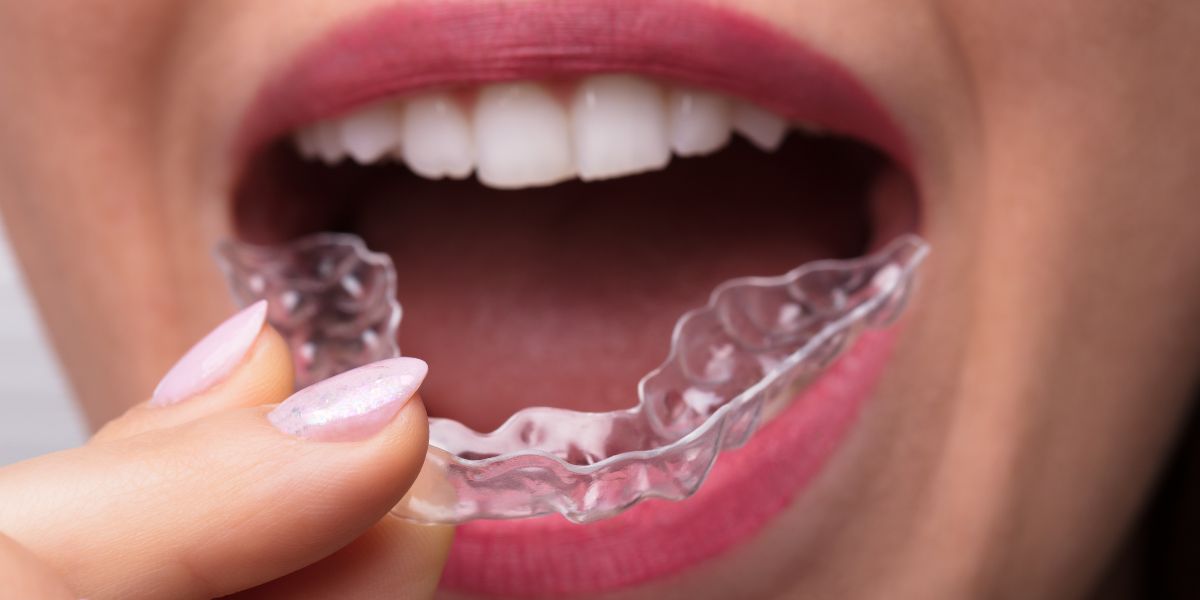
Step 2: Properly Fitting Your Clear Aligners Once you have located the right pair of aligners, gently set them atop your teeth and push lightly to affix them from the front of your teeth. Using your fingertips, work your way backwards and apply even pressure to push the rest of the aligner into place. You should feel it click into place.
It’s perfectly normal for a new set of aligners to feel tight, and it may require more effort to push them into place. But it will become easier to fit as you wear them over time.
Step 3: Securing the Clear Aligners Then, use your chewies and bite down on them to further secure the aligners on your teeth. Take note not to bite the aligners atop each other as the pressure may crack the aligners. If you are not sure of how to use chewies, we have prepared a comprehensive guide on how to use them.
Bite on your chewies for approximately a minute, starting at the back and moving your way forward. This helps to eliminate any air gaps between your teeth and the aligners, securing them into place to ensure your teeth are moved effectively.
How to Remove Your Clear Aligners Correctly
Step 1: Starting at the Molars (Back) Making use of your fingertips, apply force on the inside of the molars to retract the aligners. You should feel your aligners lifting off from your teeth. Then, remove both left and right sides before moving on.
To remove your invisible braces more easily, consider using an aligner removal tool. How to use it? Hold the tool so that the hook faces towards your aligners, and carefully insert it at the edge of the aligners. Once the hook is securely in place, gently pull to lift and remove the aligner from your teeth.
Step 2: Working Towards the Front Take note not to remove the aligners from side to side, as it may cause breakage. Once the back of the aligners has been lifted from your teeth, move your way forward to the front of your teeth to remove the aligners.
If you started on a new set and find difficulty in removing the aligners, be patient and attempt slowly. Do not remove the aligners forcefully as doing so might end up damaging them.
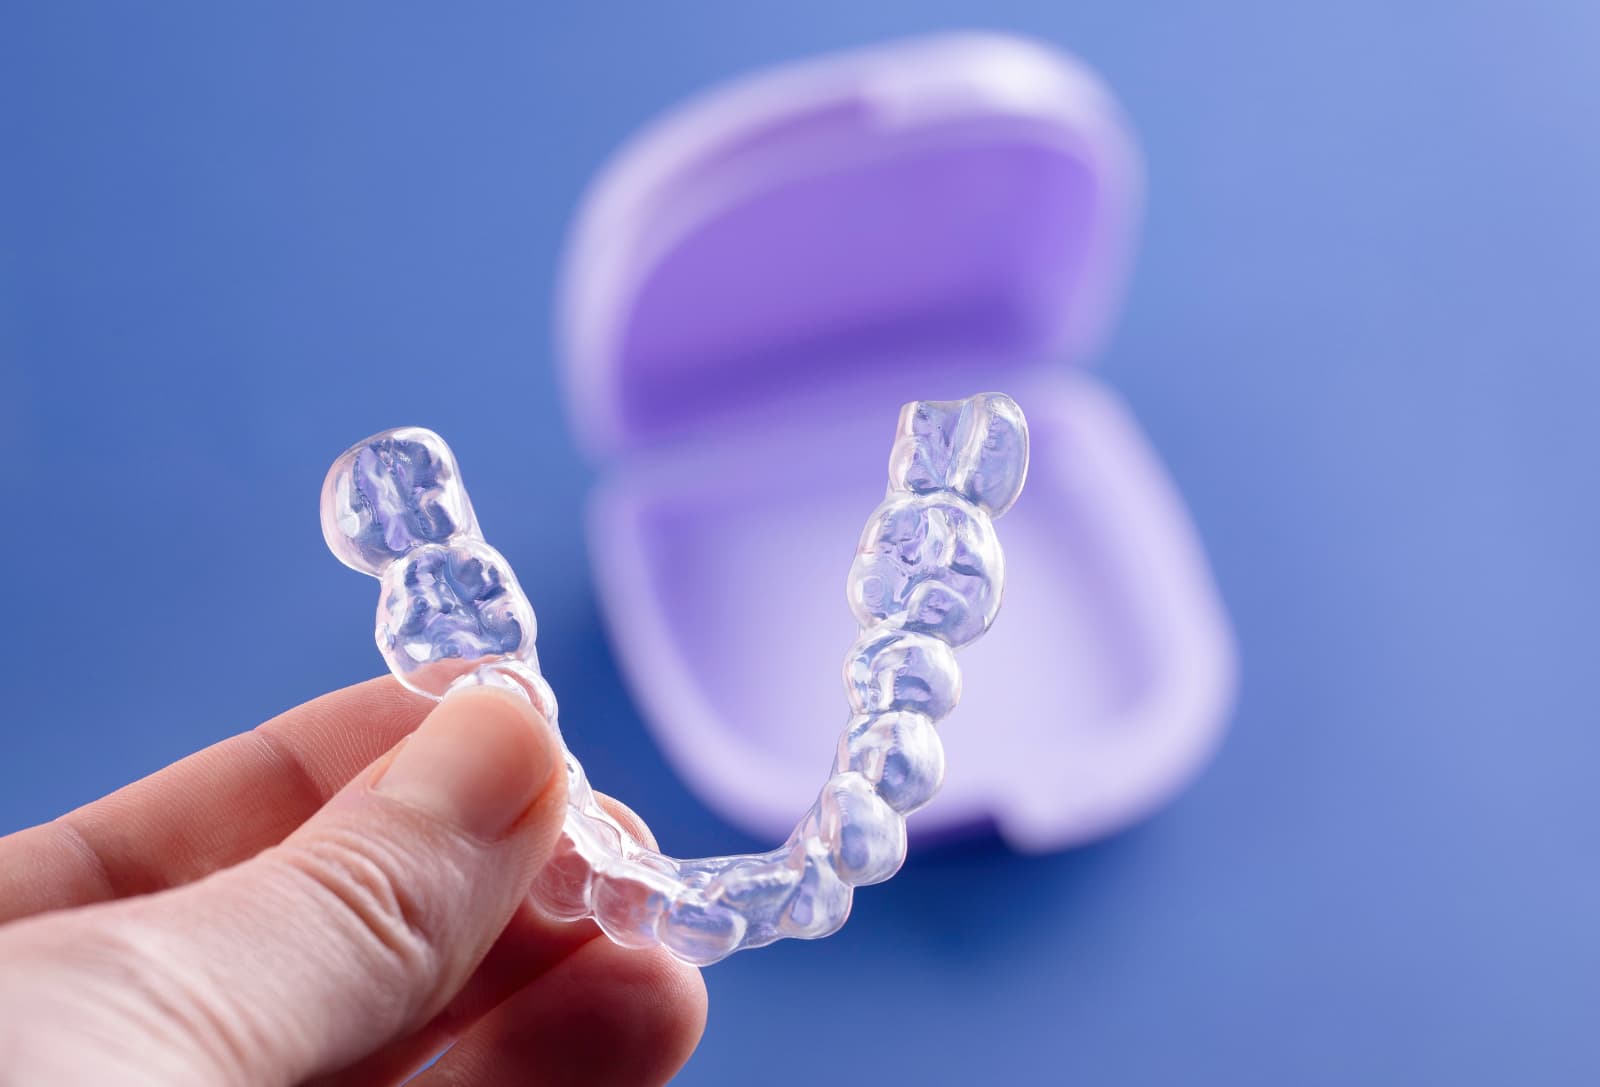
Step 3: Cleaning Your Clear Aligners After removal, rinse your aligners under running water before storing them in their designated containers. Failing to clean them can lead to bacterial buildup from having your saliva dry on them. Another good reason to store them in their containers is so you don’t lose or damage them by accident.
How Long Should You Wear Clear Aligners?
For optimal results, it is best to wear aligners for 20 to 22 hours daily. It will be more effective if you wear them at all times except for the time you eat, drink and brush your teeth. Your teeth may not align properly if you use invisible braces (aligners) for a shorter amount of time than is advised.
Embarking on your teeth-straightening journey with clear aligners doesn’t have to be daunting. Proper techniques for wear, removal, and duration can significantly impact your results. Ready to transform your smile? Book your free smile consultation today.
Dr Clear Aligners (DCA), a Singapore-founded orthodontic technology company, announced a strategic repositioning of its business model to further strengthen ...